|
Adventures in Lego: the UCS Millennium Falcon - 75192 - unboxing |
||||||||
I had the pleasure of picking up an Ultimate Collectors Series Millennium Falcon recently, so I thought I'd write up my findings on opening the set, a stage by stage view on building the set, and generally how the thing translated into Lego.
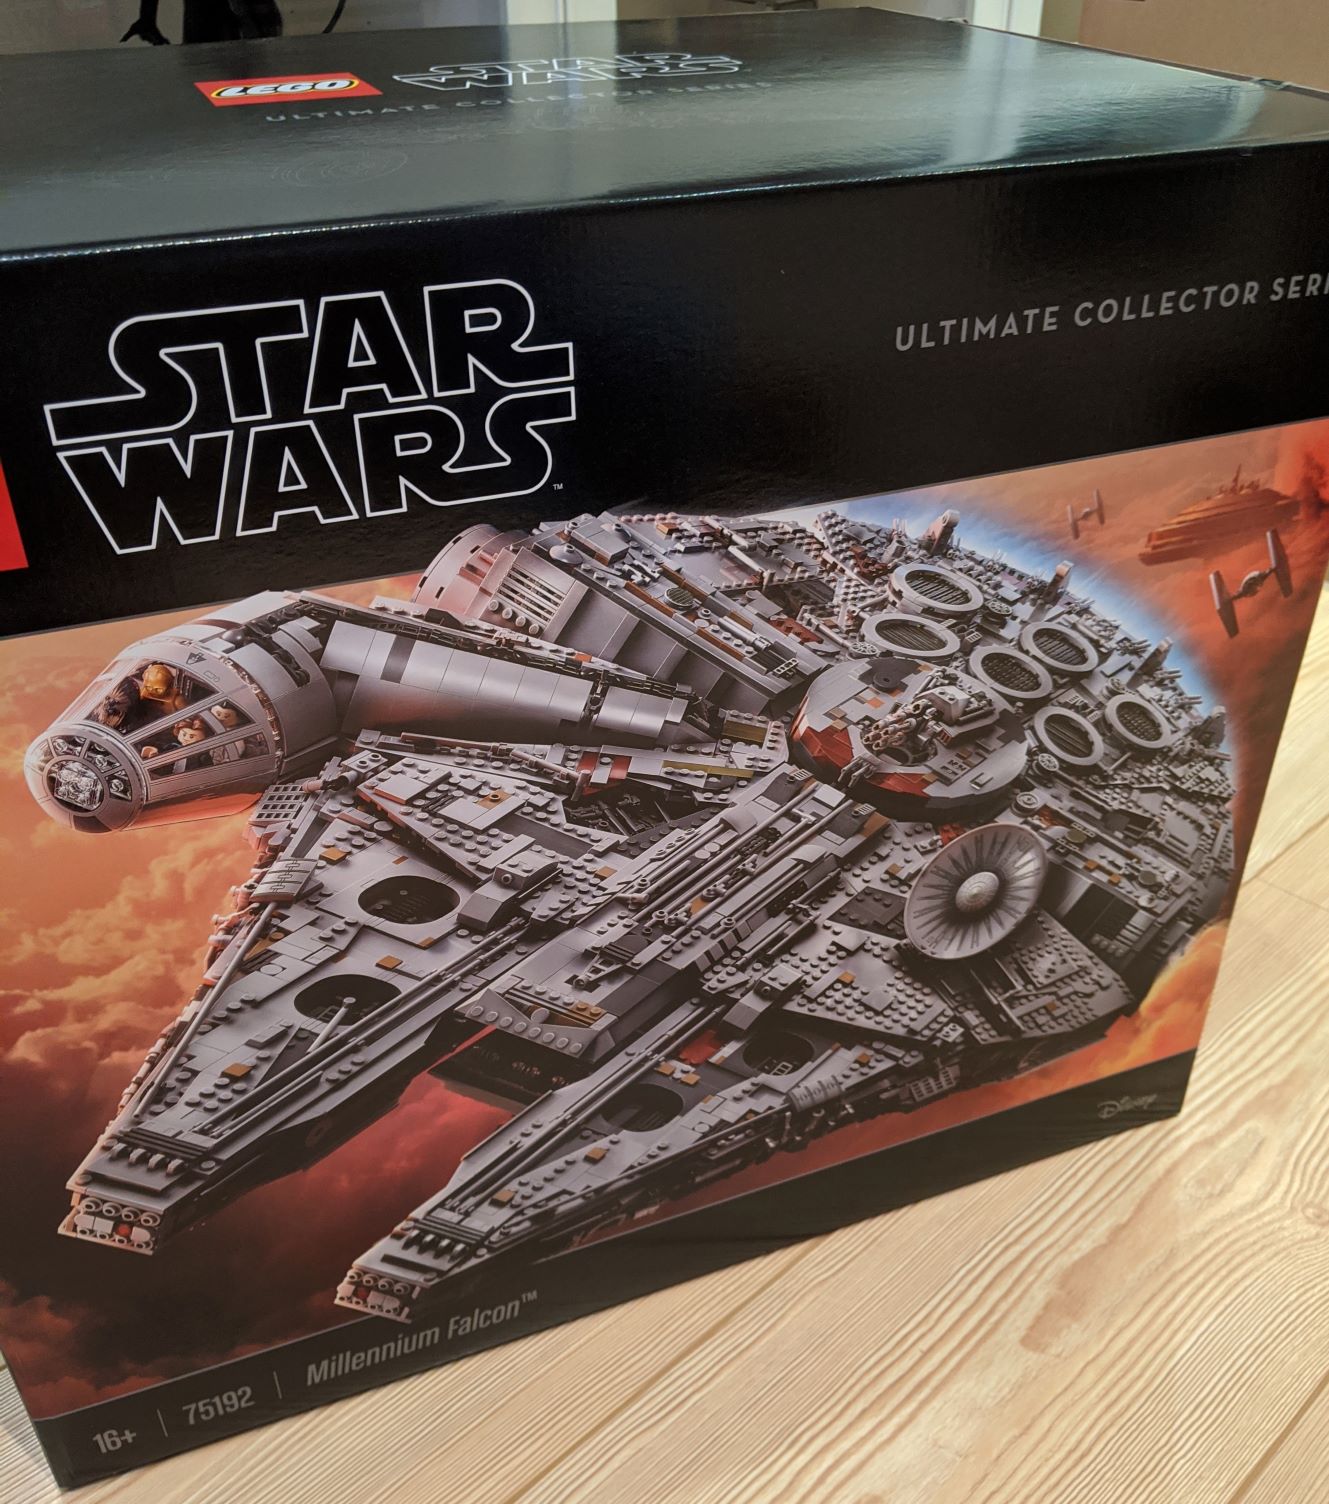
If you aren't familiar with the UCS Falcon, here's a link to the Lego site: https://www.lego.com/en-gb/product/millennium-falcon-75192 Its currently the largest, by piece count, Lego set you can buy, with whopping 7541 pieces. More than the pieces though, it's a fully realized model of the Millennium Falcon, which for most Star Wars fans, holds a special place in their hearts.
So, how does this thing look? Let's start off with the box, and get cracking on the insides.
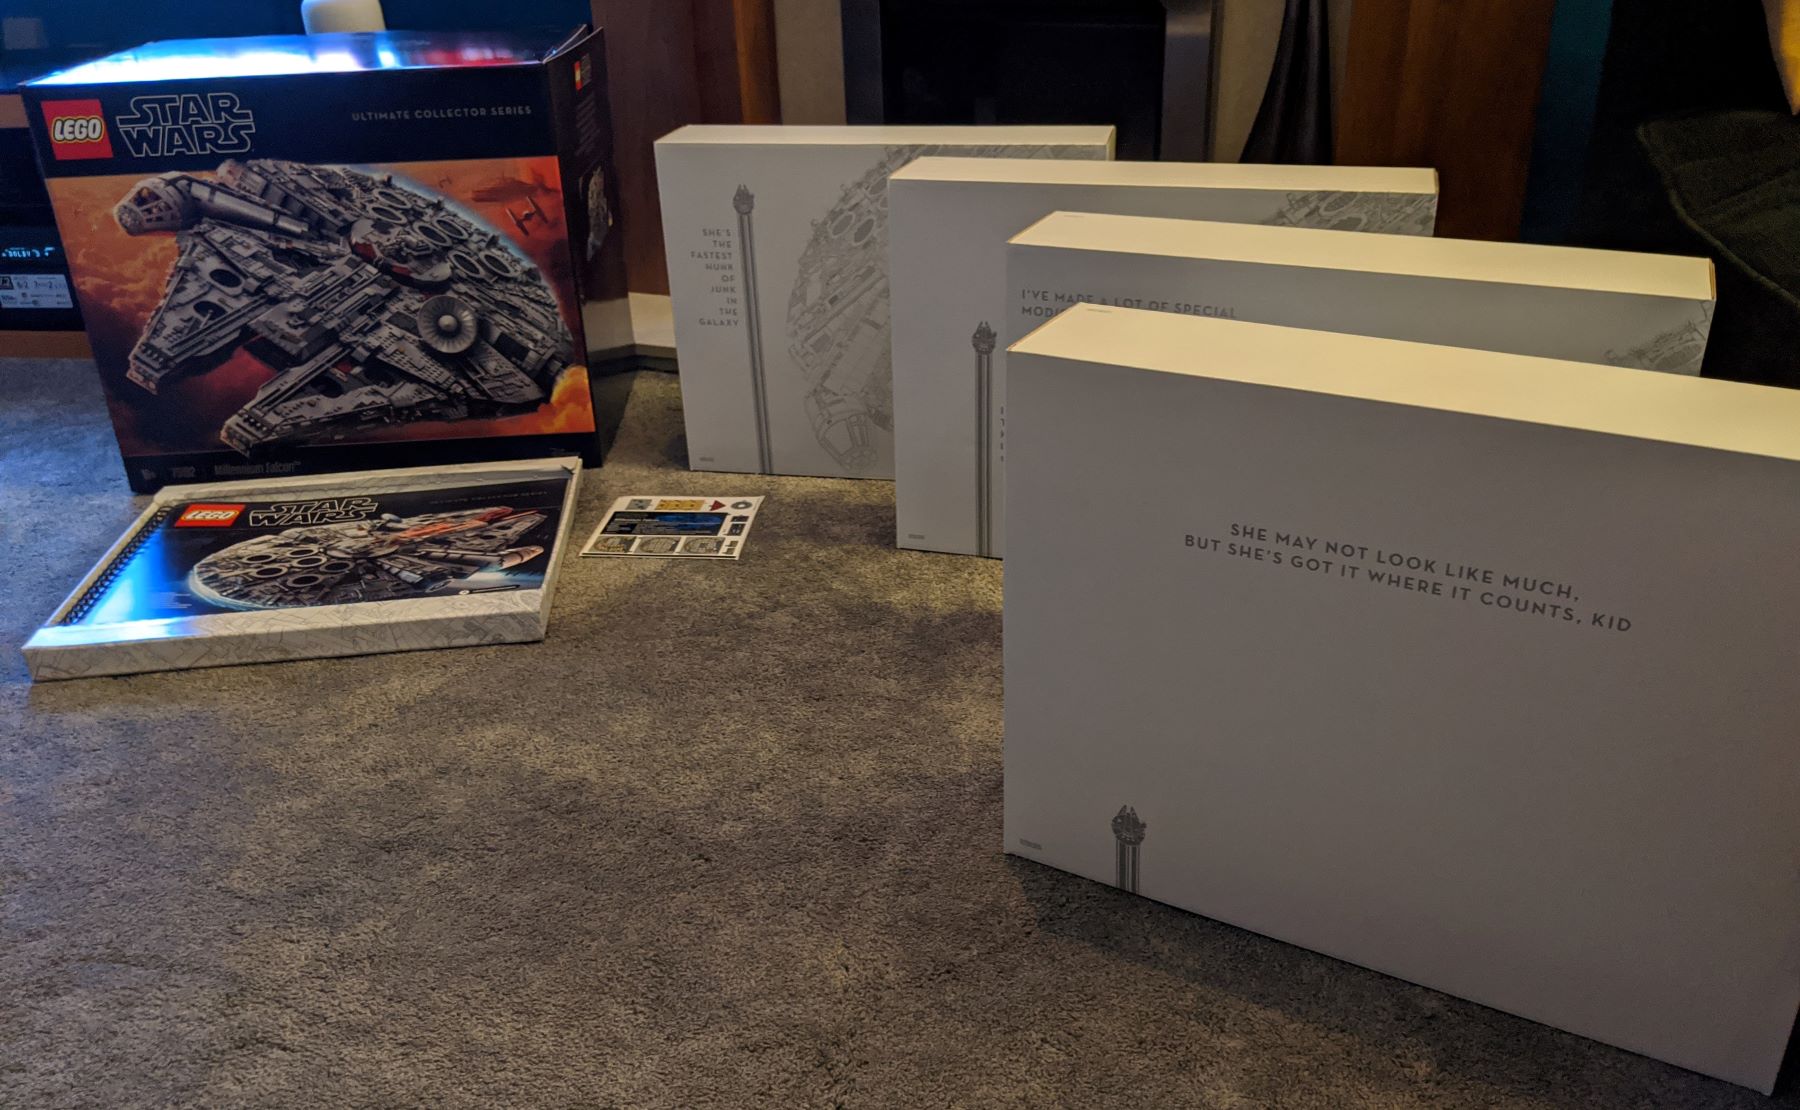
Inside the largest Lego product box I've ever seen, there are four individual boxes of Lego, each with the part of a larger Falcon picture on. Its very classily done. Next there is a large cardboard tray that holds a bound instruction book. Its large, and heavy and I think the tray was designed to keep the instructions in long term, otherwise you might end out damaging it.
As a guide to the size, with most Lego sets, you progress through numbered bags, bag 1, bag 2 etc. In the instructions they show you what each bag will make. In this case, 'bag 1' was six individual bags, all labelled as '1'. I was beginning to get a feel for how big this thing was going to be.
Bags 1 and 2
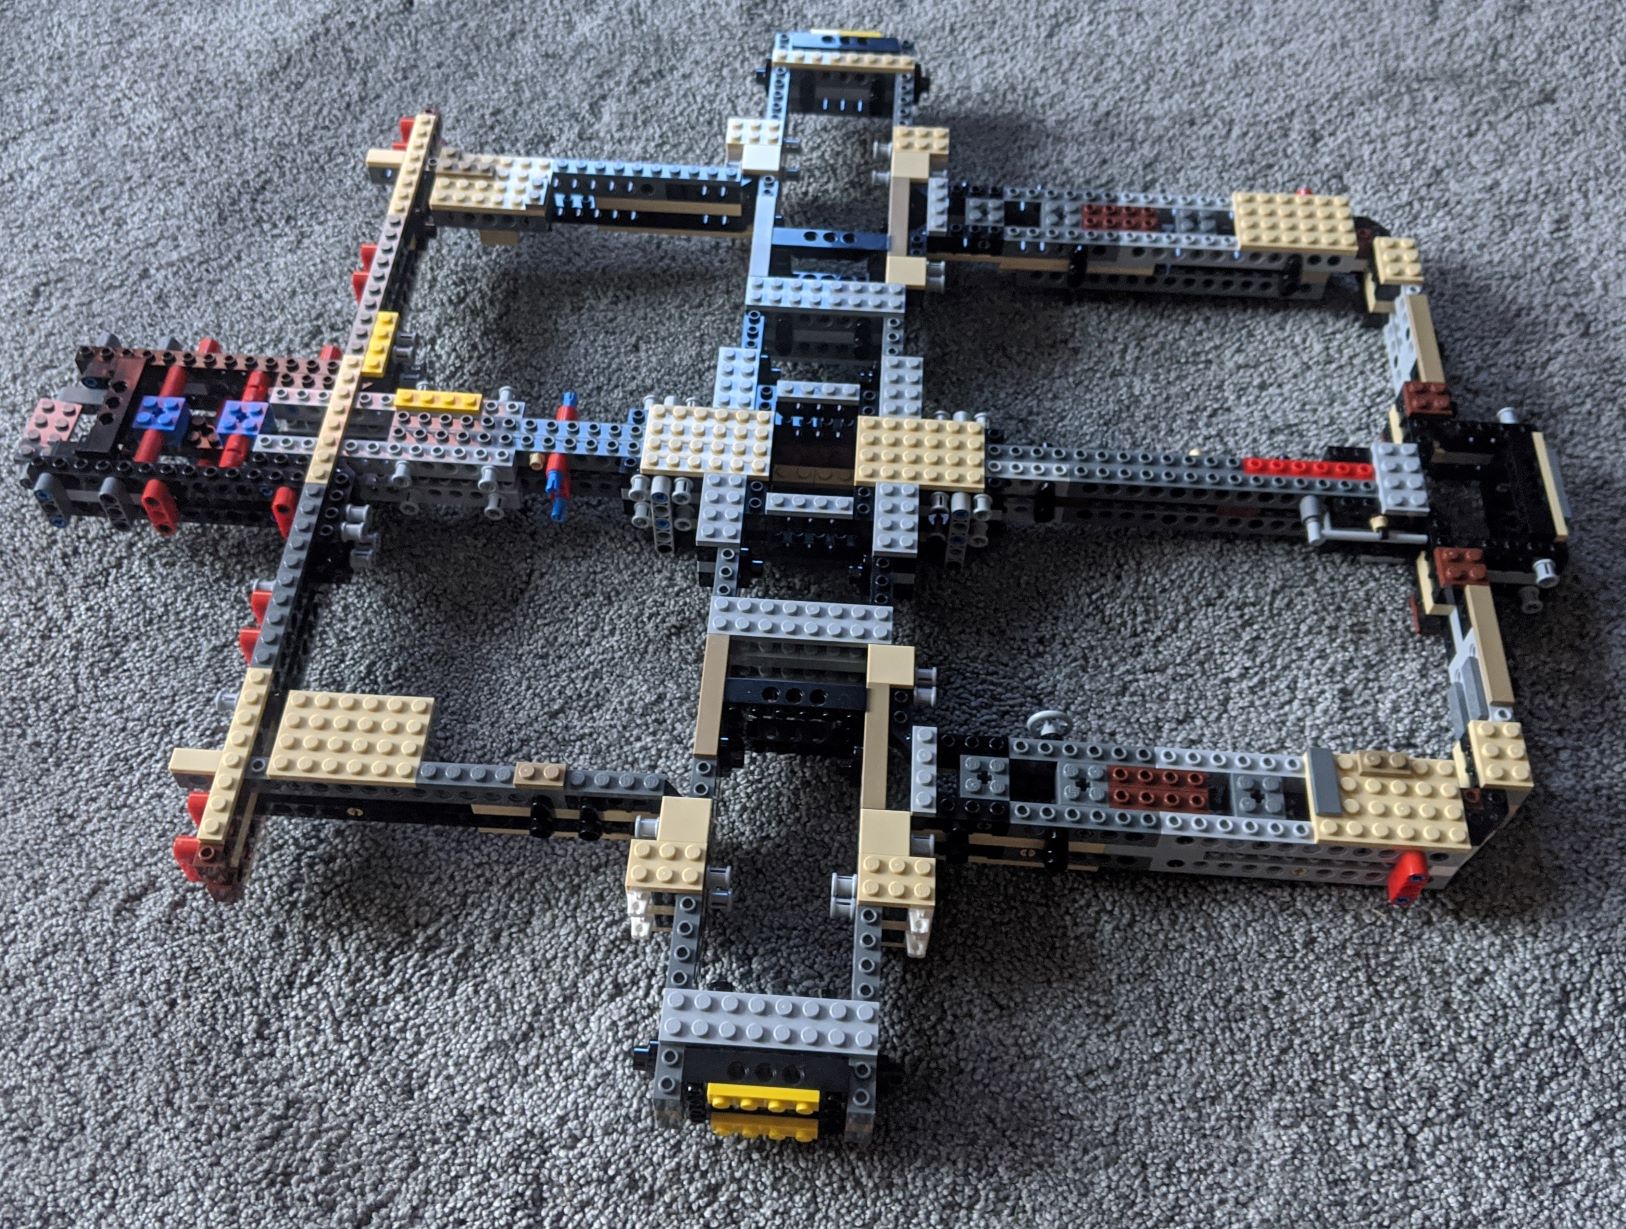
Technics was the plan, kicking off the build. There's a lot of structure that goes into this kit, and most of it is attached in some way to a Technics frame. You can see from the images below that this is a double width, double layer Technics structure. There are a lot of joining pins, and a lot of overlapping plates to give you some real rigidity in the frame. Two hours or so in, and its looking like this.
Bags 1 - Technics skeleton
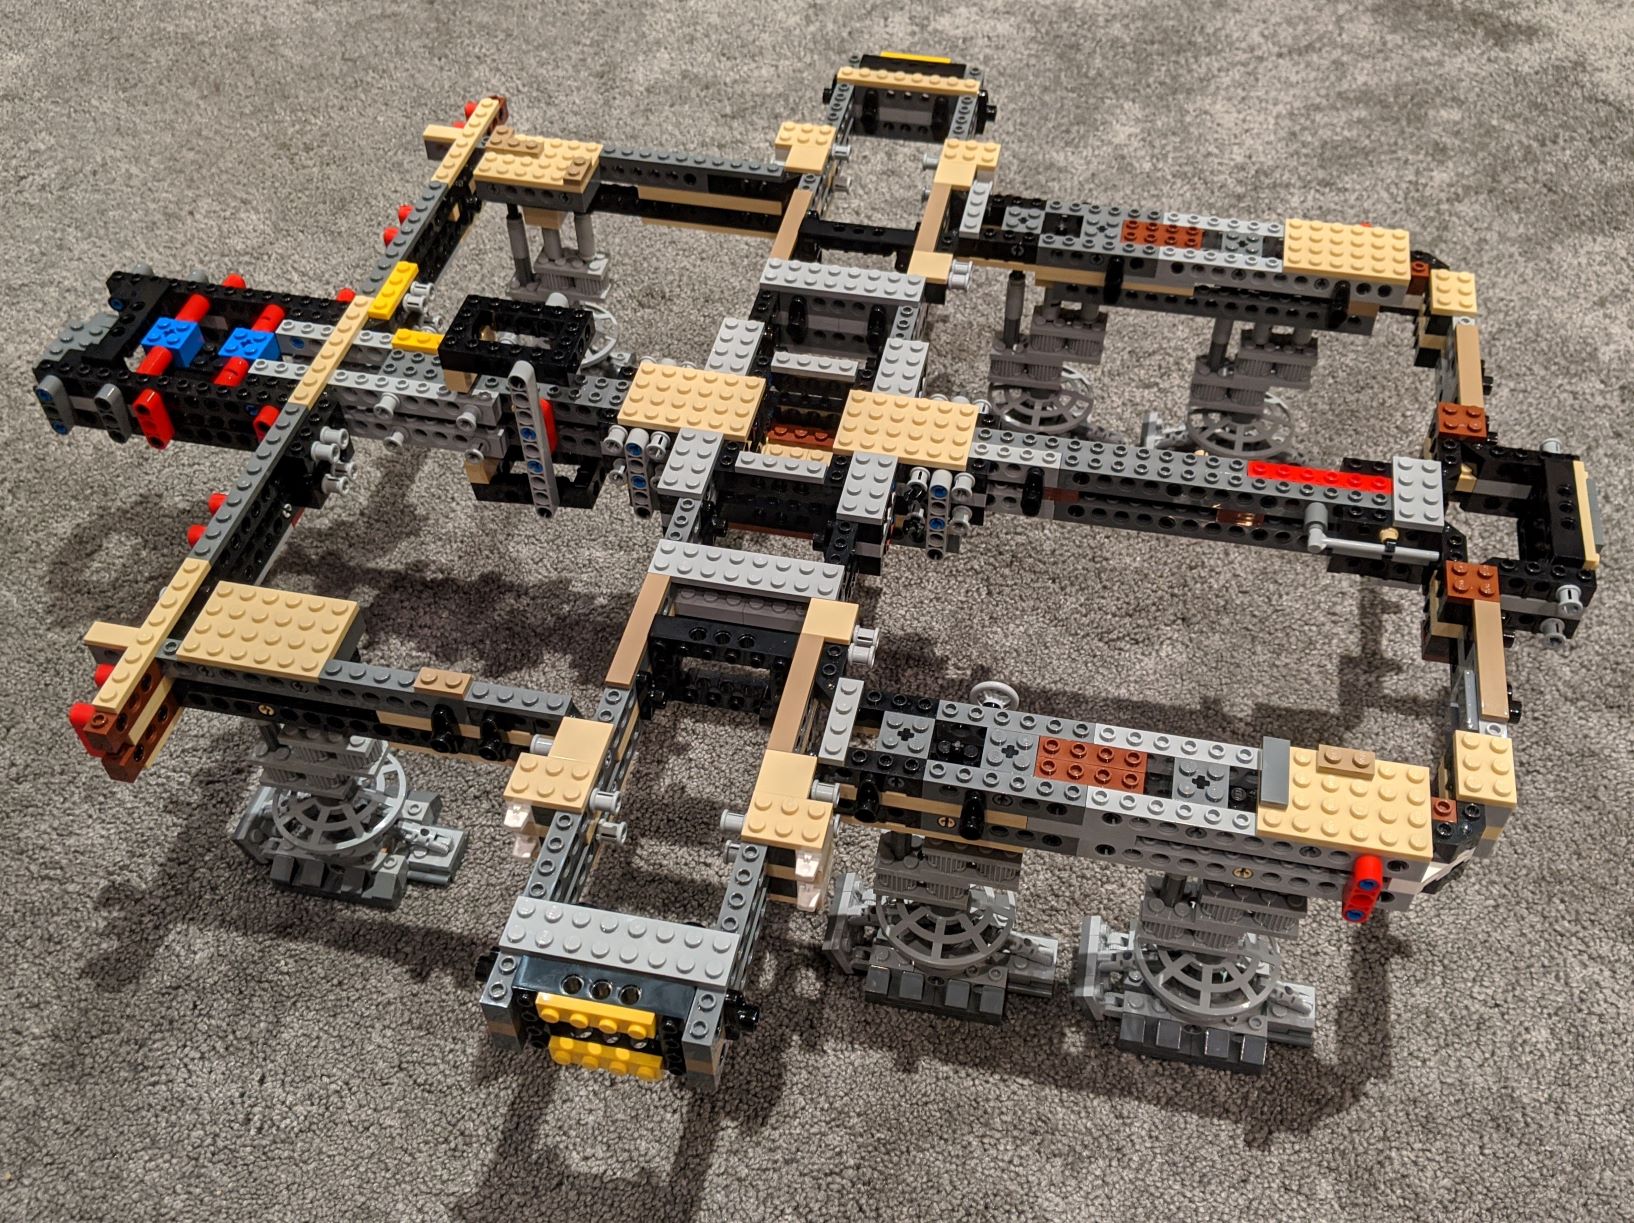
Bag's labelled 2 are pretty repetitive, as they make up the supporting feet of the model. Seven feet in total, all the same, and a few minor decorative pieces on the existing framework. It gives the model a bit of height and lifts it off the floor nicely.
Bags 2 - Falcons feet / stands
On to bags three and four to see if we start adding some details!


There are no comments for this entry.
[Add Comment] [Subscribe to Comments]